

Planning a photo shoot? Here’s how to put together a shot list
This may seem like a “duh” statement, but I’ll say it anyway:
In order to get what you want, you have to know what you want.
Right. Duh.
But you’d be surprised how often clients go into a photo shoot without a clear plan.
Most people have vague ideas about what they want out of a shoot, but until we can project thoughts into each others’ minds Star Trek-style, a shot list is the best way to communicate exactly what you need to your photographer and team.
So what is a shot list?
A shot list is just what it sounds like: a list of the photos you want to get from a shoot. It’s a a collection of images, ideas, and setups you want to work your way through.
For instance, on an e-commerce shoot, you may want to get silo shots (images of your products on a white background) for product pages, and photos in a variety of lifestyle settings for ads and social media.
Why is it important?
Shot lists are helpful because they force you to think about the images you need, and act as a checklist so you don’t forget anything. They also ensure that the entire team (photographer, stylist, hair & makeup, model, etc.) knows what to expect and how to prepare.
For instance, I recently styled a shoot that went from indoors to outdoors–in freezing temperatures. Had I known our (brave) models would be outside in the cold, I would have pulled coats for them to wear!
As with most other team projects, the more communication, the better.
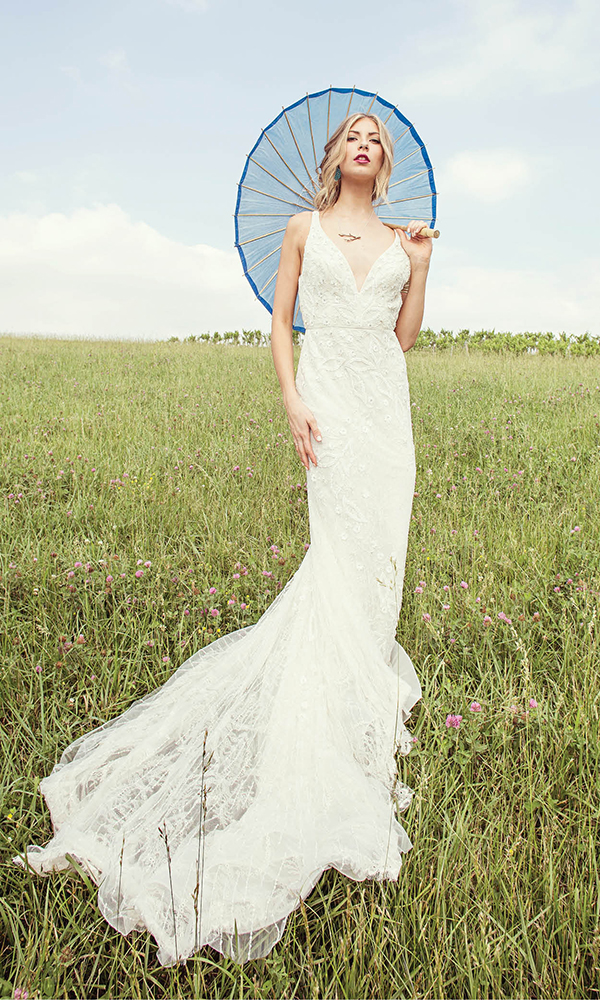
Photo: Annette Navarro
Ready to get started? Let’s go!
1. Get everyone on the same page
Gather your creative team to discuss everyone’s needs and vision, taking into consideration:
– Image use
Think about the different types of media and how images will be used.
Are they for print? Most magazines and look books are in portrait orientation.
Are they for digital? Websites and social media headers are displayed in landscape orientation, but Pinterest favors vertical images, and Instagram is all about the square.
Be sure to get a variety of options that will work for all of your outlets.
Magazine images are often vertically oriented Photo: Anna Jones/OMS
– “Must haves” vs “nice to haves”
Once you know where the images will be used, determine your must-haves.
For example, a fashion designer’s must-haves might include photos of each garment on a white background for e-commerce and line sheets, necessary for online sales and retailers. Meanwhile, a tight shot of a model’s manicured hand zipping a dress is nice to have for Instagram, but won’t make or break a sale.
– Mood and lighting
Think about the mood you want to convey. Do you want the photos to be fun and colorful or should they be more muted and calming? Soft natural light with minimal contrast works well for a more organic look, while hard bright light with deep shadows plays up the drama.
Take a look at your brand guidelines and make sure everything fits with your overall aesthetic.
– Composition
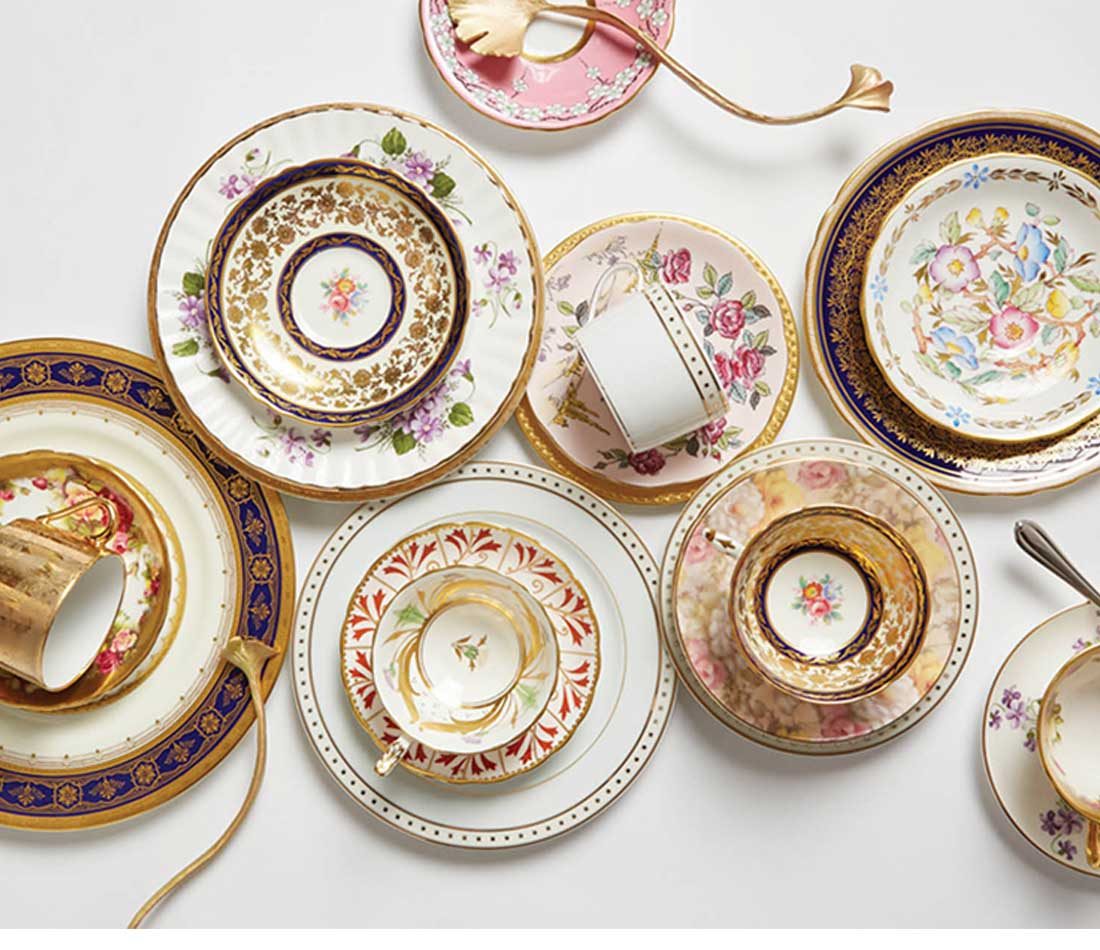
Composition also affects the “feel” of your images. Do you want products to be organically arranged as if they landed that way by chance, or in a precise grid Things Organized Neatly-style? Will photos be cropped in unusual ways for a trendy attitude, or perfectly centered for a classic feel?
Again, this should reinforce your overall brand.
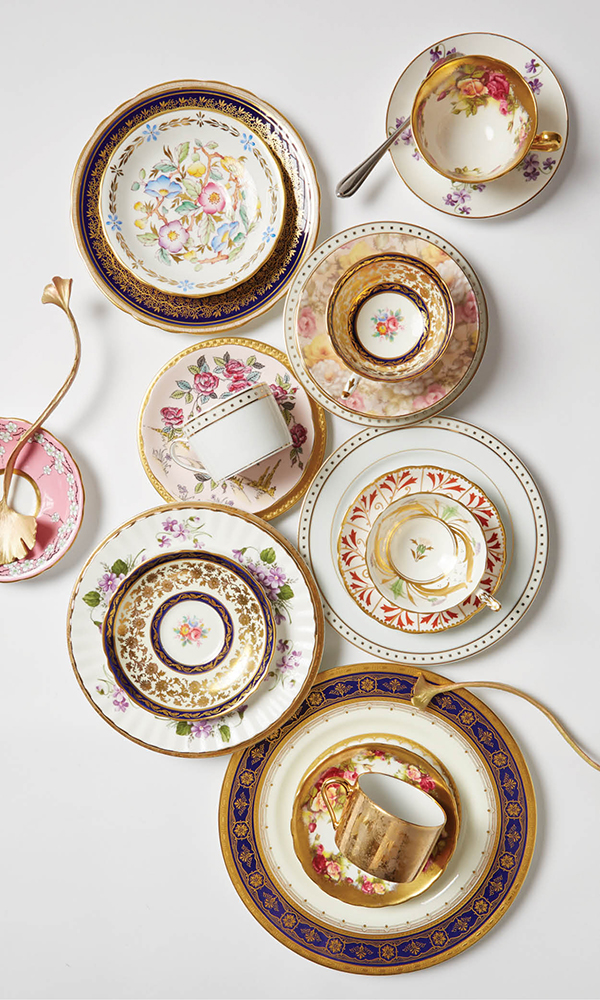
“Organically arranged” dishes feel fluid and relaxed
Photo: Aaron Conway
2. Make a list of shots
Create a list of your must-have and nice-to-have shots, then put them in order based on importance and general similarity. An ordered list of photos helps keep timing on track and cuts back on downtime.
For example, if you’re photographing product shots and on-figure images for an e-commerce site, you can get the product shots done first, while the models are in hair and makeup.
If you’re working with different sets and backdrops, you can photograph everything on set #1 before tearing down and moving to set #2. Planning the general order prevents having to rebuild.
3. Add visual inspiration
While a written list helps keep the day in order, visual examples help everyone can SEE the objective. You can draw sketches (stick figures count!) or find photos that embody what you want to create.
I like to spend some time gathering 1-2 inspiration images for each shot on the list so there’s a solid starting point for poses, composition and framing. Check out these resources for inspiration, and set up a private Pinterest board and invite your collaborators so everyone can share their thoughts.
[RELATED: 31 Resources for Visual Inspiration]
Compile the inspiration images for lighting, composition, and each shot, add brief descriptions where needed, and voila! Shot list complete!
A word about shoot day:
In reality, very few shoots go exactly the way you plan, and that’s okay! Weather, talent, locations, and collaborators all have a say in how the day turns out, and frankly, some of the most unexpected, unplanned moments are when the magic happens.
There’s nothing wrong with letting things take place organically, just make sure you get what you absolutely need, too. The more details you can work out beforehand, the more time and freedom you’ll have to experiment.
Questions? Need help? Ask away!
Interested in learning more about creating visuals for your brand? Join me for my “Think Like an Art Director” session at Midwest Craft Con on Saturday, February 11th. Register here!