

How to: DIY Photo Shoot at home for Entrepreneurs
Because good photography is key to a strong personal brand.

Humans are very visual—that’s why Instagram is A Thing—and when you’re building your brand I highly recommend working with a professional photographer when possible.
But many of us have been stuck at home without a pro photographer at our beck and call.
However, the need for content hasn’t stopped—if anything, it’s grown. People are spending more time online and they need to see you doing your thing or they’ll forget about you. It’s harsh but true: most folks’ attention spans are shorter than Spudz McKenzie.
You need to keep creating and putting yourself out there in order to build your brand and your business.
Since I get a lot of questions about my photos on the ‘gram (follow me @thestylesample!) and I have years of experience as an editorial Photo Stylist and self-tographer (just made that up, you like?) I thought I’d share how I do it:
1. PLANNING
This whole process will be faster and easier if you plan ahead. I promise it’s fun to think about this stuff!
Do a little prep work before your shoot and things will go MUCH smoother.
> Consider your content
In the magazine world, content comes first: imagery is an illustration of what’s being said, a way to clarify the point of the article in shorthand.
Map out your content calendar and plan to shoot images and video that will help illustrate what you’re saying in the text. It doesn’t have to be exact! for instance, I talk a lot about style and strategy so I create pictures that generally show me looking fashionable while working.
> Create a shot list
I wrote a whole post about that here, but here’s the gist: Find images that stand out to you and make you go “ooh, I want pics like that.”
Set up a pinterest board or Instagram bookmark collection of images that inspire you. Look at the inspirational images all together and see if you can spot patterns: are the colors bright and poppy or calm neutrals? Are they wide shots or close-ups? Is there a particular angle or composition that draws you in?
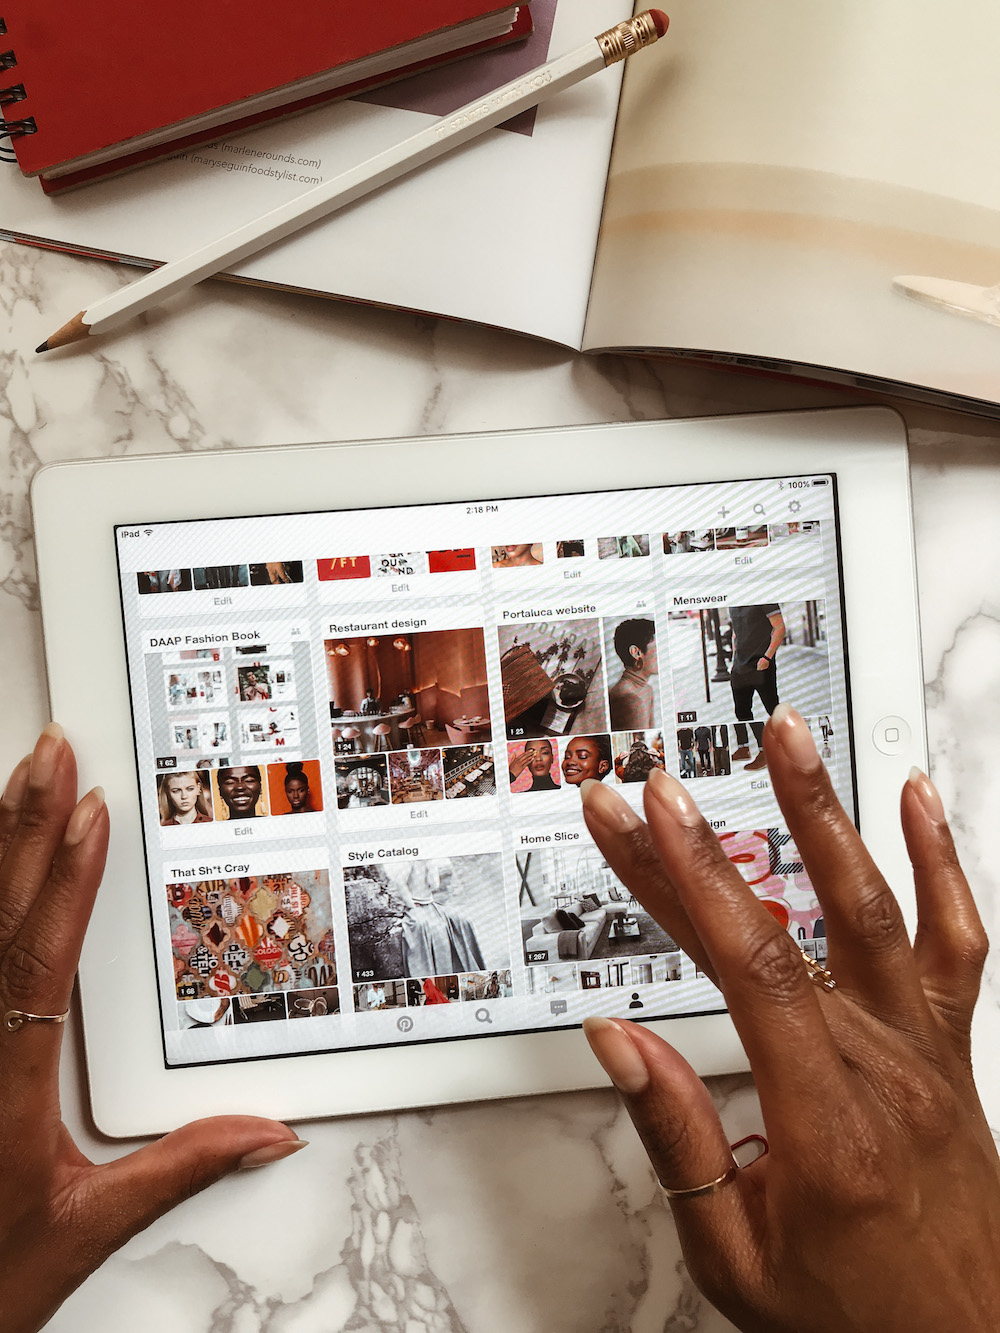
Collect inspiration images on Pinterest or Instagram
Choose 3-5 inspiration photos that make sense with your content and a how you’ll use them: a website will generally require landscape images, while social media and newsletters work well with a square or 4:5 portrait.
Be as realistic as possible and select photos that you can replicate on your own with your resources, which leads us to…
> Check your equipment
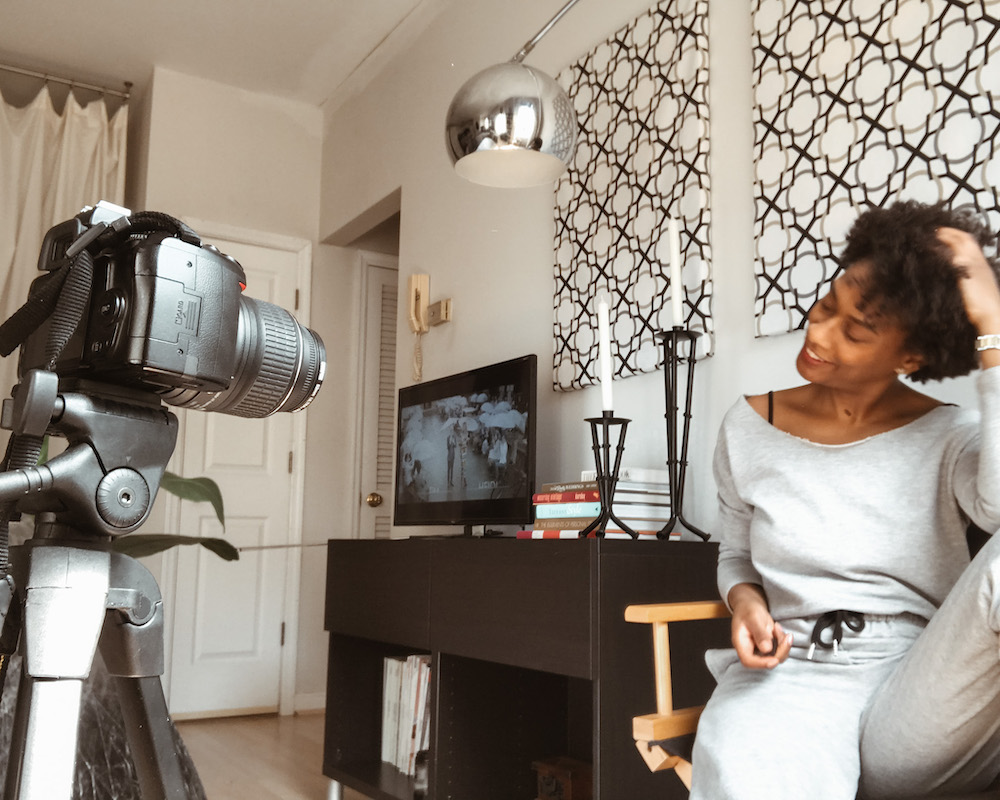
Are you working with a DSLR or a smartphone? Do you have lighting equipment or will you need to use natural light? Do you have a tripod or will you be propping your camera up on books? There’s no right or wrong, just be realistic and get creative.
I use a tripod and a remote timer, and sometimes bring in a ring light or a reflector if needed. You don’t necessarily NEED any of these things but they make the process less of a hassle.
If you have the resources to invest, I’d suggest a tripod and a remote with a two-second delay. A ring light is nice to have if you don’t have a lot of natural light.
Tip: If you’re using a smartphone, the rear camera is usually better than the front-facing camera.
> Think about your “set”
Get creative with the furniture and accessories you have at home. For instance, my TV stand doubled as a desk. The ZZ plant I’ve managed to not-kill helped add life to some shots. My kitchen counter stools made a great plant stand.
Narrow down your shot list to 2-3 setups based on the environment you’re trying to create.
This is not a desk, it just plays one in my pics
Tip: anything organic makes a setting seem more styled and warm. Plants and greenery, citrus fruits in a bowl, candles, and pillows all add depth and interest.
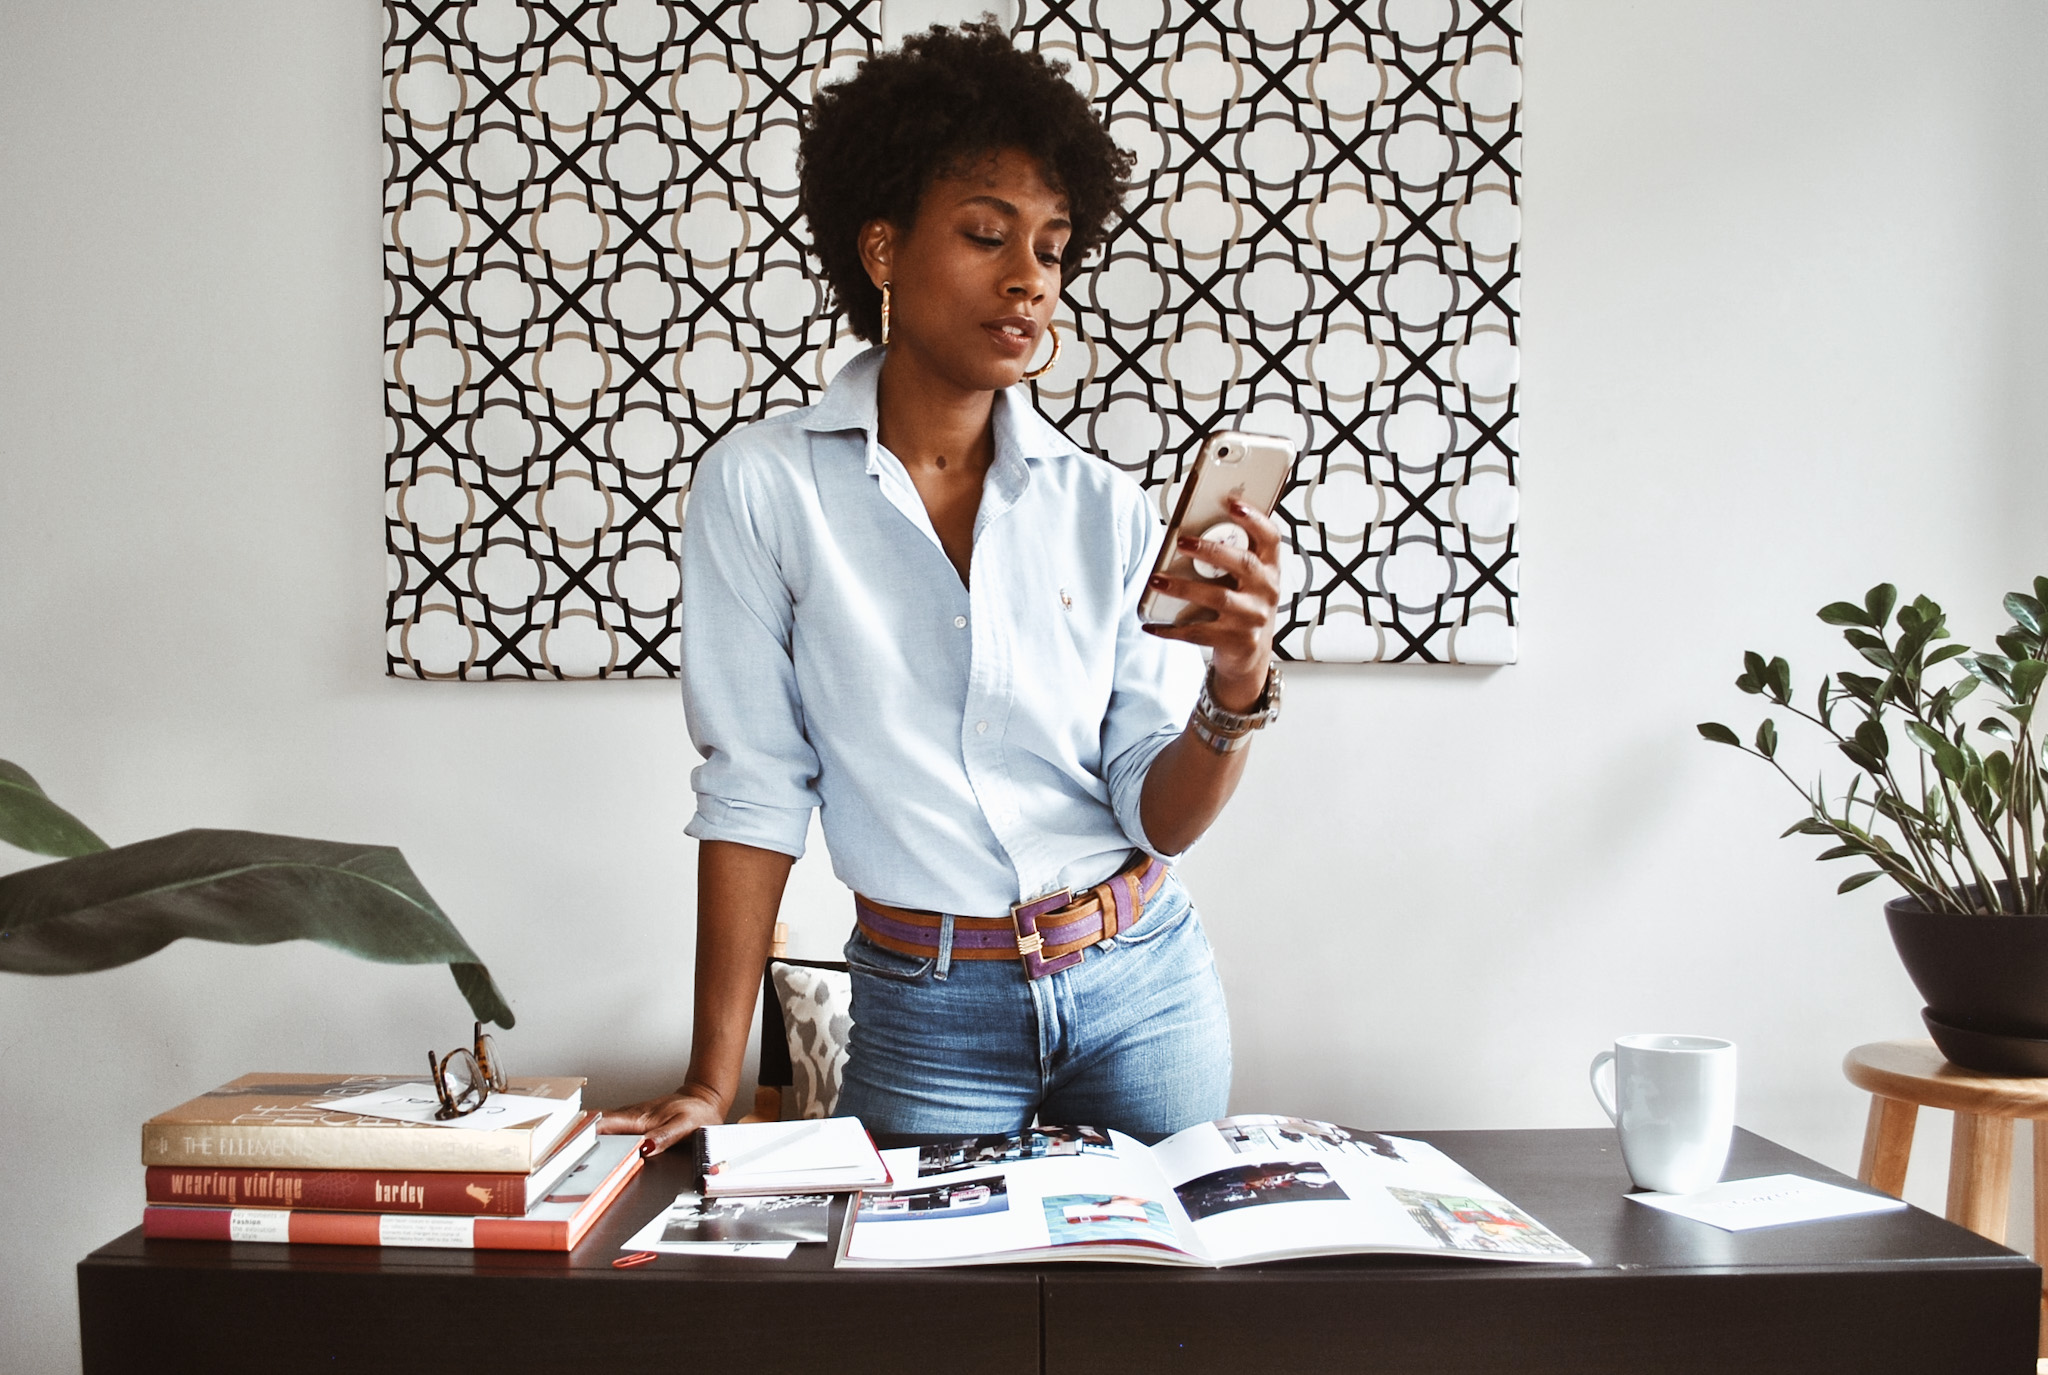
> Strategize your style
Plan your wardrobe, hair, and makeup. As a Stylist, I think this is the best part!
Think about ways to incorporate your brand colors into your outfit. For instance, red is one of my main colors so I’ll wear a shirt with red accents, paint my nails red, or use a notebook with a red cover.
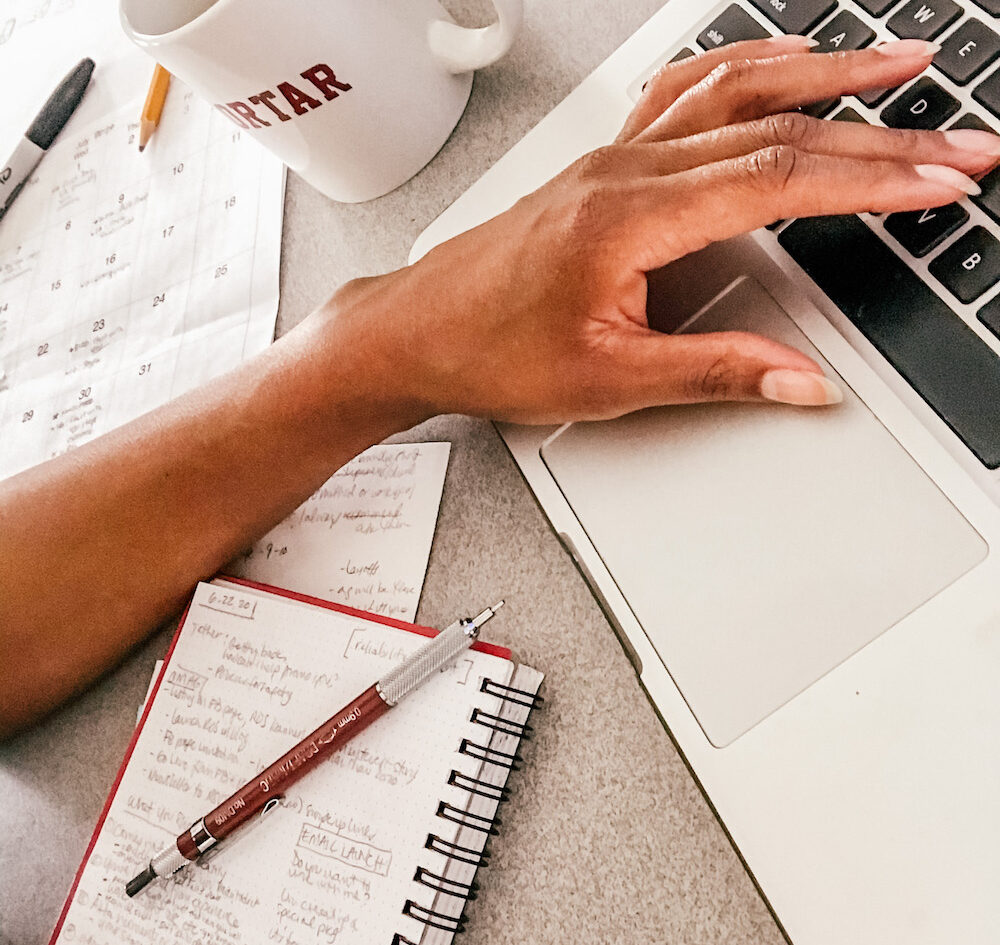
Include props, too. For professional shots, incorporate your laptop, phone (if you’re not using it to take the pics), books and magazines, cute notebooks and pens, and things that convey “working”, whatever that means for you.
Your background, outfit, and props should all work together color- and style-wise.
2. SHOOT DAY
It’s time to get shootin’! Here’s how to take great photos:
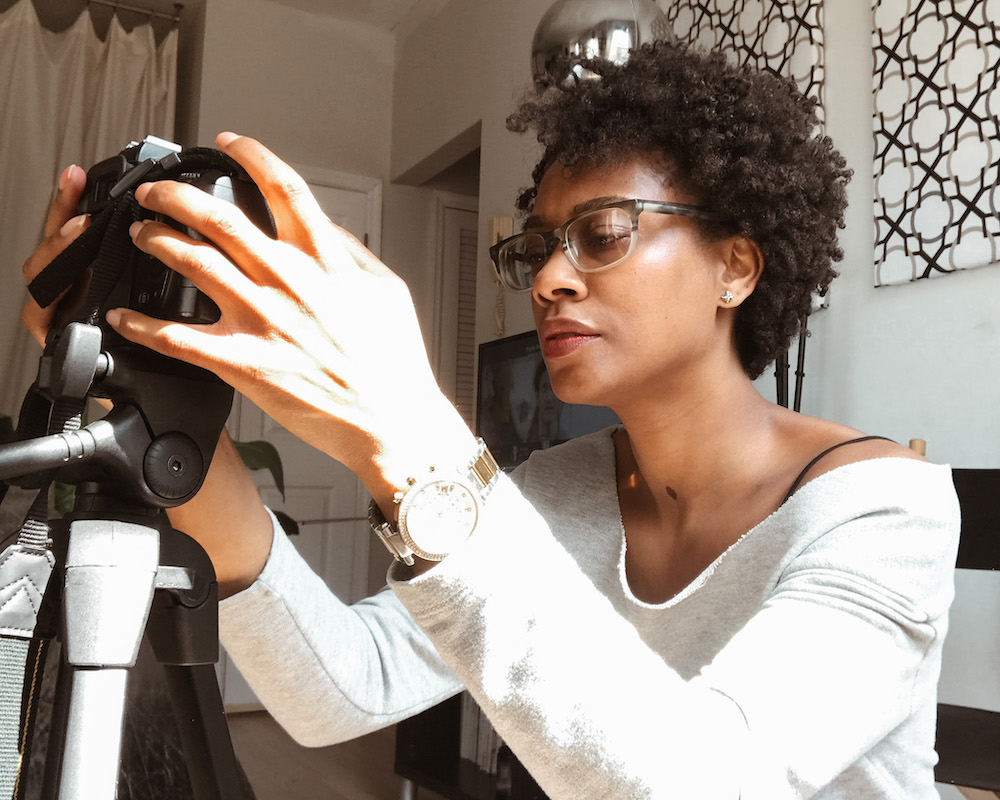
Take your time making adjustments to the angle and checking your settings.
> Set aside plenty of time
I’m talking two hours, minimum. Once you’ve gotten dressed, done your hair and makeup, re-arranged furniture, set up your shots, and taken enough pics to get comfortable on camera, you’ll be at least an hour in. Figuring out angles and adjustments takes time, too.
Put it on your calendar the way you would a shoot with a pro photographer. You need and deserve this time to work on your brand!
> Create your “set”
Make sure your background is clean: no dust, no random water bottles or cords scattered around. We all saw how GOT got clowned for a misplaced coffee cup, it DOES make a difference.
Take a few test shots to see how everything looks. Is the lighting too harsh? Is your composition working? Do you need to move your props so they show up in the frame?
Practice a few different poses and facial expressions. Do you look best when your chin is up or slightly down? Should you be facing the camera directly or at an angle?
Look at those inspiration pics on your shot list and start by trying to replicate their poses. It doesn’t have to be an exact copy, but it’s a starting point for creating something you like while making sure it still feels like YOU.
> Find your light
Tyra was right, you gotta find your light. Windows are your friend. You want to be facing the light or have it coming in from one side so it illuminates your lovely face without casting harsh shadows.
If you don’t have a lot of natural light, head outside on an overcast day or use a ring light. Or, just stay indoors and go for a moody vibe.
Tip: Try to stay away from using an on-camera flash; 9 times out of 10 flash makes you look weird unless you’re outdoors in bright sun and using it to fill in shadows.
> Get a variety of shots
Depending on how much room you have and what type of lens is available, get wide, pulled back shots and tight detail shots.
I use my camera remote with a 2-second timer (enough time to hide the remote), but you could also use your smartphone’s countdown timer.
A camera remote is a self-tographer’s best friend
Follow your shot list to ensure you get the images you need, but let magic happen if you’re feeling it.
> Take a LOT of photos
Even the pros take hundreds (if not thousands) of photos during a shoot. Check every 3-4 shots to see how things are looking and what you want to change.
Did your arm position look good in the last pic but your eyes looked closed? Strike the same pose but make sure you’re looking up and more towards the camera. Does your waist look snatched at a certain angle? Yeah, do that again (and again and again).
> Take your time!
No need to rush, it’s just you and it can be really fun once you get into it! Now is the time for Feeling Yourself, so put on some music and WERK. And since there’s no one else around, you can be as silly or awkward as you want. Digitals are made to be deleted, honey.
Digitals are made to be deleted, honey.
3. POST-PRODUCTION
You’ve got pics! Now what?
> Choose your selects
You just spent a few hours taking photos, there should be plenty to choose from. Go through them and favorite the ones you like best, the ones where your eyes are open, your face looks good, and your body seems relaxed but poised.
Then go through your favorites and weed out any near-duplicates, choosing the best of your best.
> Edit to your standards
I typically transfer photos directly from my DSLR to my phone for editing, and I use up to 3 tools: Snapseed, Facetune2, and Lightroom.
Snapseed makes it easy to remove any dark smudges on the wall or unseen trash on the ground. Facetune2 is great for smoothing out blemishes and brightening eyes and teeth. Lightroom is a godsend because you can use presets to color-correct and make all of your images look consistent with your brand.
I begrudgingly purchased a pack of Lightroom presets for $2.99 on Etsy. I was skeptical, but it’s honestly one of the best purchases I’ve ever made. Once your preset is applied, you can do more granular adjustments of the color, exposure, brightness, etc. as needed.
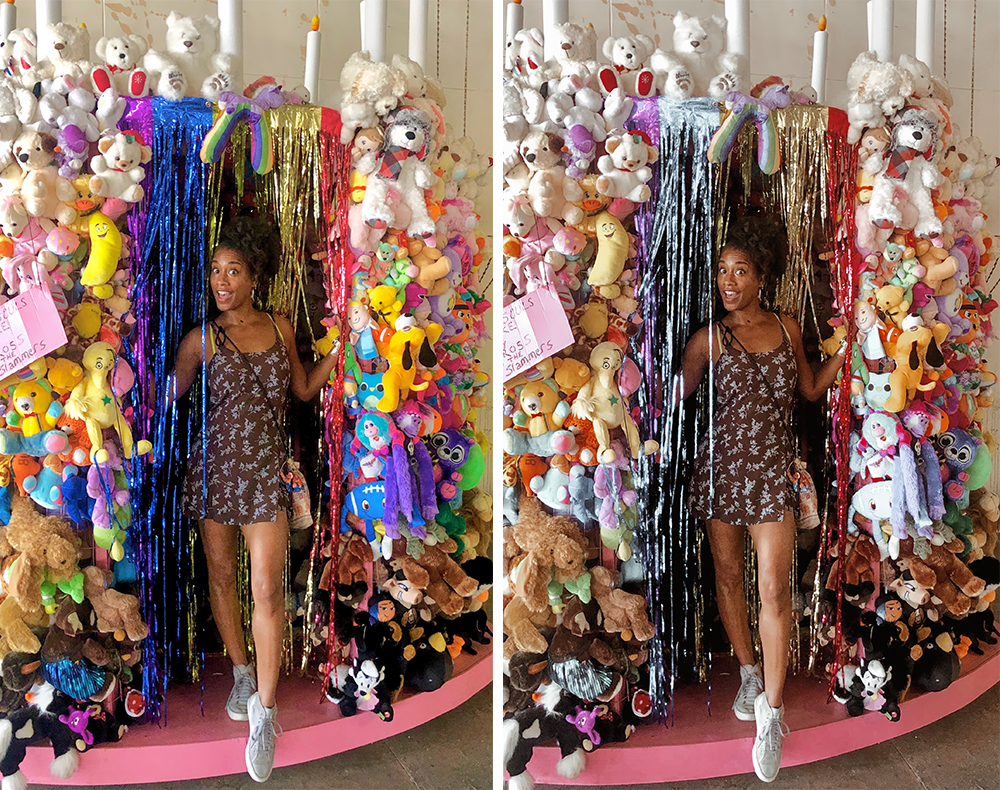
Before and after the Lightroom preset is applied. One tap and everything looks on-brand!
> Take the great with the not-so-great
Don’t get discouraged if you don’t love every photo, that’s just how this works. I took 117 pics and only 20 of them were even worth editing. You do the math.
But those 20 pics will be spread across several months and platforms, and if that content brings in new clients and opportunities, it’s worth it.
Creating a stylish personal brand requires intention, but with a solid plan and a creative eye, it’s the one surefire way to change the trajectory of your professional life.
If you need someone to take a look at your shot list, send me a message and I’ll share some advice.
Need help creating a cohesive brand?

Luckily for you, I LOVE helping entrepreneurs build a stylish personal brand so they can attract the right clients and charge more for their services. Check out the MUSE Method and set up a chat!