My DIY photography lightbox
After doing research for the product photography how-to post over at StyleSampleMag.com, I decided to try my hand at building my own bootleg lightbox. It was pretty simple, and I had most of what I needed just laying around the house:
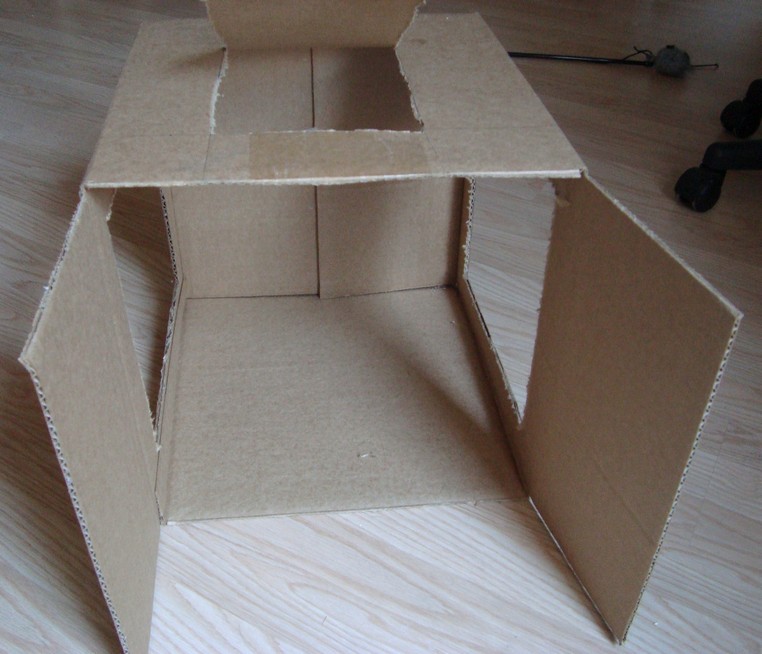
1. Find a box. Cut holes in it.
I used scissors (an X-acto knife probably would have worked better) to cut out opposite sides of an old shipping box and a smaller “flip up” opening on top–all the better to take overhead shots with, my dear.
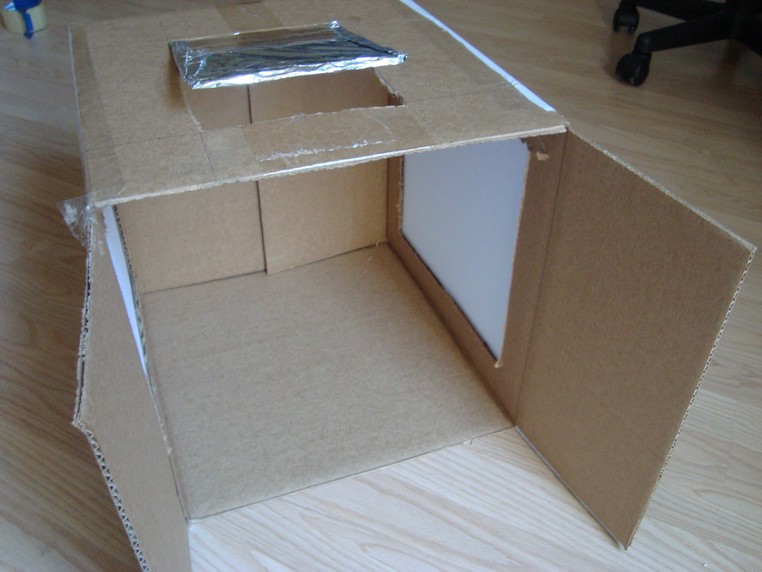
2. Cover the large cutouts with something translucent.
I used some white muslin from the time I thought I’d create my own patterns (ha!), and taped it to the box with packing tape. Be sure to pull the material tightly before securing it to the box! You could also use white paper or a different type of sheer-ish material.
3. Cover the inside of the top of the box with white paper.
I glued plain ol’ printer paper to the inside top of the box with a glue stick, and covered the inside-facing portion of the “flip up” opening with aluminum foil to encourage light reflection. For giggles, I also created two small “reflectors” using paper, foil, and the leftover cardboard cutouts.
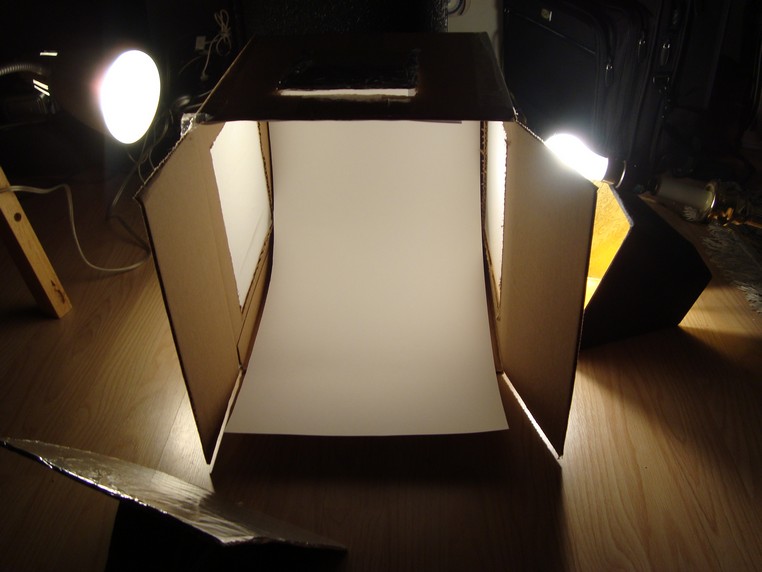
4. Tape a piece of white posterboard inside for the backdrop.
I got a large piece of posterboard at CVS for 99 cents and taped it to the inside of the back of the box. It naturally curves down to the bottom, resulting in a seamless background.
5. Light it up!
The ‘hood hardware store closed early (go figure), so all I had available were two desk lamps. No matter! These lights were free and seemed to work pretty well.
Results
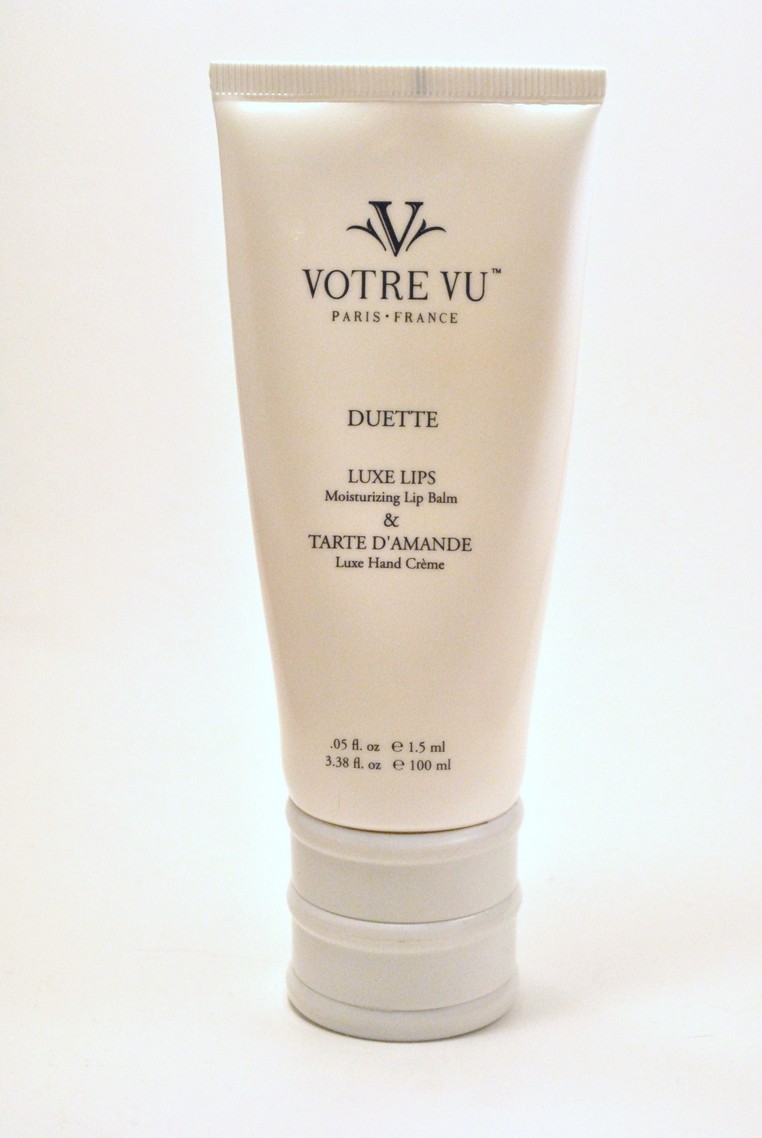
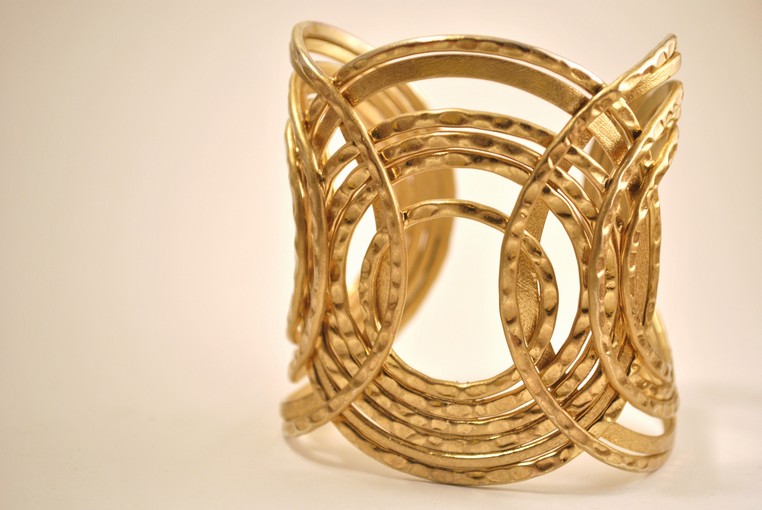
I tested the setup by putting my camera on the macro setting and taking pictures of small jewelry and cosmetics items. The results:
They turned out pretty well! A few required simple color and exposure adjustments, nothing too elaborate. These images could easily be used to sell crafts and jewelry on etsy or small items on eBay, or turned into simple business cards:
Total cost: $o.99. All in all, not a bad project (unlike the great hemming debacle)! If you decide to try it or have done something similar, let me know how it goes/went!







Ashe Mischief
August 25, 2010 at 1:14 pmGreat tutorial, lady! I don’t know yet why I’d need one, but I’m glad you posted this…
Alicia
August 25, 2010 at 7:22 pm*SCREAMS*
My lightbox was nothing like this, and not nearly as effective.
I’m on this as soon as I get home.
Sanchez
August 25, 2010 at 8:38 pmOOOOhhhhhhhh…I like it. I think I’ll be making one of these…and blogging about it when I actually get more than 10 mins on the computer that isn’t work-related, lol.
nicky
August 26, 2010 at 6:25 pmBrilliant post, I’m off to the supermarket to get a cardboard box now…
Lisa Malanij
August 26, 2010 at 6:34 pmWhat a great article! An effective and affordable DIY light box – genius. I’ll definitely be making one of these babies for small accessories I sell online :]
tamia
August 27, 2010 at 9:44 amIt’s perfect for that. Of course, next time I’ll set it up on a table instead of the floor. My neck and shoulders were killing me after squirming around on the floor with the camera trying to get the right angle!
Sasha-Shae
August 27, 2010 at 12:59 amAbsolutely awesome! I was just thinking about my need to make a lightbox and then I check my inbox and BAM! there it was! Thanks Tamia! =)
tamia
August 27, 2010 at 9:47 amOoh, maybe I’m psychic!
DaShannon
September 4, 2010 at 11:59 pmWell now. I didn’t think I needed a light box for those singular item shots but now that you mention it…
tamia
September 5, 2010 at 2:11 pm@DaShannon: I think if you can shoot in good natural light it’s not necessary, but if you don’t always have optimal light available, it comes in handy!
Jo Frances
September 8, 2010 at 11:47 amI had to stumble this post—it’s such a simple project, but from your pictures, the results are amazing!